Favorite Kid-Friendly Recipes from our Summer Programs
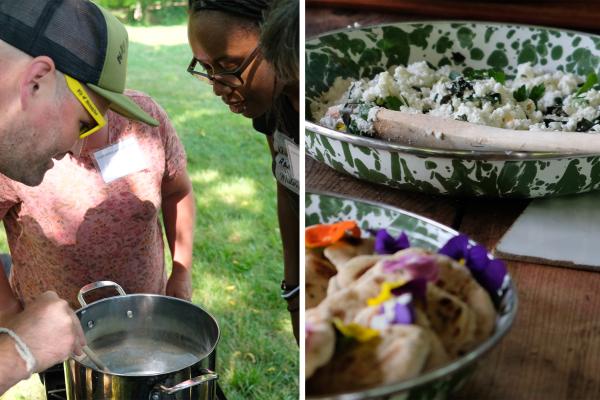
In July, early childhood educators came from around the country for our annual workshop, “Project Seasons for Young Learners: Cultivating Joy and Wonder.” The group spent an entire week on the farm, tapping into their own curiosity and learning new strategies to instill a love for the natural world into their students, too. They spent their first day in the Market Garden harvesting vegetables, fruits, and herbs to make kid-friendly recipes with garden manager Josh Carter and instructors Courtney Mulcahy and Jed Norris. “Touch, taste, and feel. Don’t be bashful,” said Josh as he invited educators to sample everything from tart currants to edible flowers.
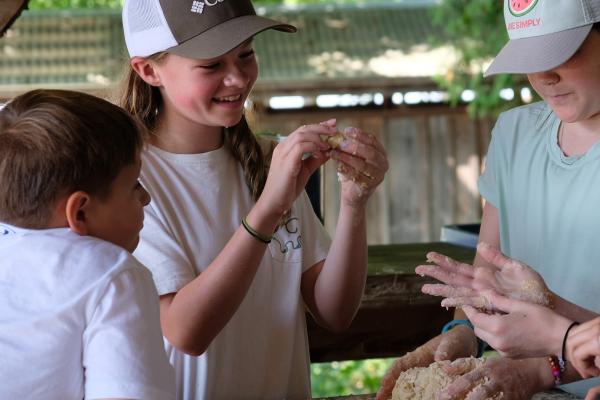
Our young summer campers also enjoyed the fruits of the farm (plus swimming, playing, and exploring, of course). One camp based in the Market Garden considered the theme of nourishing, exploring what the word means and what nourishes us and the plants and animals around us. Each camp session often ends with a celebratory community feast, when campers craft and share farm-fresh food building on knowledge and skills they’ve gained throughout the week.
“When we have the opportunity to harvest from the garden and then make some dishes, kids are learning where their food comes from, picking up scratch cooking skills, and engaging in the food system, all while having fun,” says Jed, Director of Farm Based Youth Programs and Early Education Program Coordinator.
Even though you may not have been with us this summer, we wanted to share some of our farm with you. Here are just a few of our programs’ favorite recipes that are simple to make at home, with or without the help of young chefs! We made these recipes in our outdoor kitchen, but you can easily replicate them indoors, too.
Fresh Farmer’s Cheese
From Cultivating Joy and Wonder [View the full activity as a PDF]
- 2 cups milk
- 3 tablespoons lemon juice or vinegar
- A pinch of salt (or to taste)
Directions
- Put the milk into a saucepan, then add the vinegar or lemon juice. Heat the milk for 8–10 minutes on low heat, stirring occasionally until it starts to curdle.
- Remove the pan from the heat, and continue stirring until all the milk has curdled. It has now separated into curds, which is the solid part, and whey, which is the liquid.
- Line a colander with two layers of cheesecloth and set it over a large bowl. Pour the curds and whey into the colander.
- Carefully gather the four corners of the cheesecloth together and twist them to form a bag around the curds. Continue twisting to squeeze out as much whey as possible.
- Next, place the curds into another bowl, add salt to taste, and stir (stirring is a great job for children!).
- You can also add fruit or herbs to your cheese – or, divide the cheese into several different bowls, add your flavoring of choice, and have a taste test to compare.
Mini Flatbreads with Herb Schmear
Adapted from a recipe by Buddy Oliver
Flatbread
- 1 cup self-rising flour (make by mixing 1 cup of all-purpose flour with 2 teaspoons baking powder), plus extra flour for dusting
- Several pinches of salt (or to taste)
- 4 tablespoons Greek yogurt
Herb Schmear
- 1 handful of torn, seasonal herbs, like basil and parsley
- Olive oil
- Pinch of salt
Directions
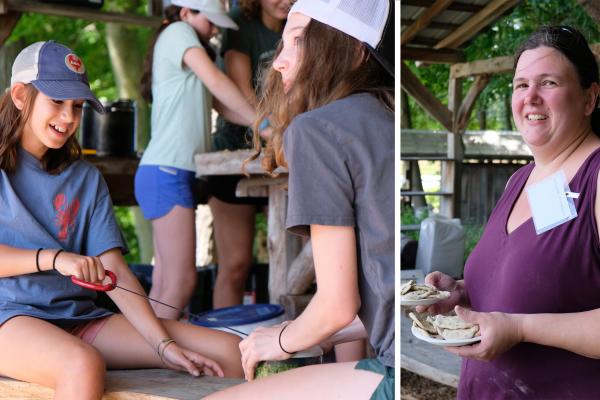
- Pour the flour into a bowl, make a well in the middle, then add the yogurt and several pinches of salt. Use clean hands to mix it together, until you have a dough.
- Wash and dry your hands, then dust your work surface and hands with flour. Split the dough into eight equal pieces. Stretch the dough with your hands or roll it out with a rolling pin to about ½cm thick.
- Put a large nonstick frying pan on medium-high heat.
- Once the pan is hot, carefully add the dough to the dry pan and cook for 2 or 3 minutes, or until golden and puffed up. Use tongs to turn the flatbreads over, and cook for the same time on the other side.
- Remove the flatbreads from the pan and serve however you like – with butter, melted cheddar (a camp favorite), or a pesto-like herb schmear.
- To make the schmear, simply combine herbs and a pinch of salt in a food processor, pulse, then add olive oil and blend until desired consistency is reached.
Kale Chips
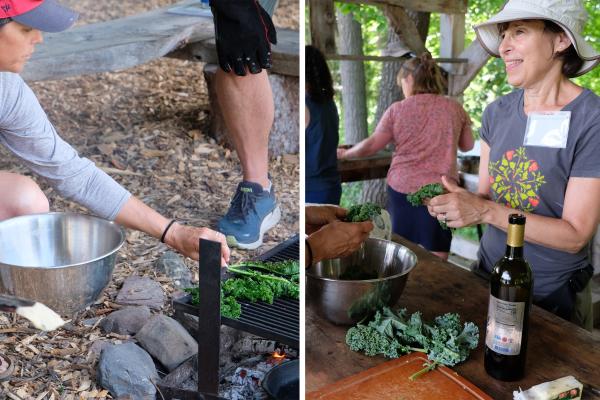
Jed recommends dinosaur kale for this recipe. “It’s more cup-shaped, so it collects the oil and seasoning better,” explains Jed. He also likes keeping the leaves right on the stalk for easier cooking and serving. “Everybody gets a stalk,” says Jed. “Picture eating these like a turkey leg at the fair!”
- 1 bunch dinosaur kale
- Olive oil
- Salt
Directions
- Wash and dry your kale, and place in a large bowl.
- Drizzle kale with olive oil and sprinkle with salt, then massage the kale to tenderize.
- Place your kale leaves directly over a campfire on a metal grate like we did, or cook in an oven at 300°F for 20 minutes or until crisp.
See more of our recipes. Photos by Andrea Estey.


